
Fall Leaf Craft Using Nature’s Confetti
Fall is my favourite season and I LOVE any excuse to go on a nice walk to breath in the cool air. So I thought about making a Fall arts and crafts idea that uses materials easily found in nature! If you wanna know how I made this super cute fall leaf using “nature’s confetti”, keep reading :)
Cut out a leaf using cardboard

First, cut out a leaf border out of card board! I simply traced a leaf and then roughly made a border around the traced leaf. The cardboard I used was a Red Lobster biscuit mix box :P It was delicious and useful! lol I liked using these thinner cardboards because it made it easier to cut out the thin boarder, rather than using thick cardboard boxes.
Add clear tape to the back
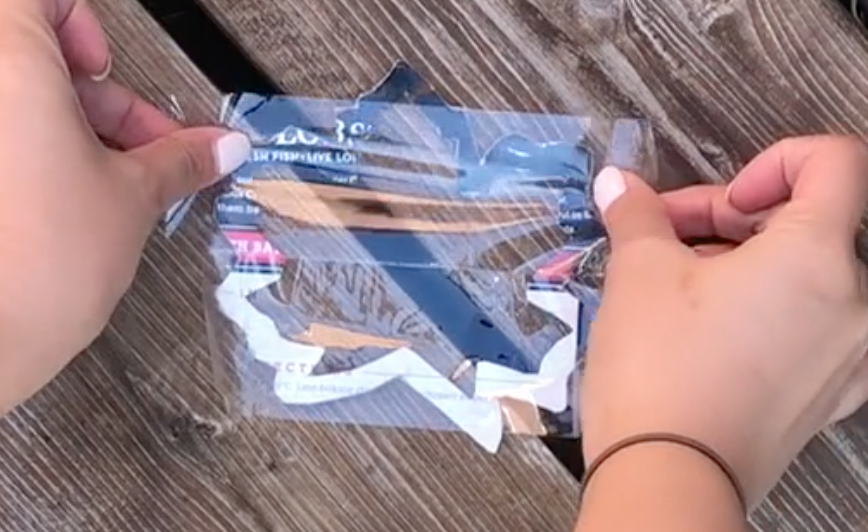
Add clear tape to the back of the leaf. I just used regular clear packing tape and 2 strips was all I needed!
Add a stick to the back of the leaf
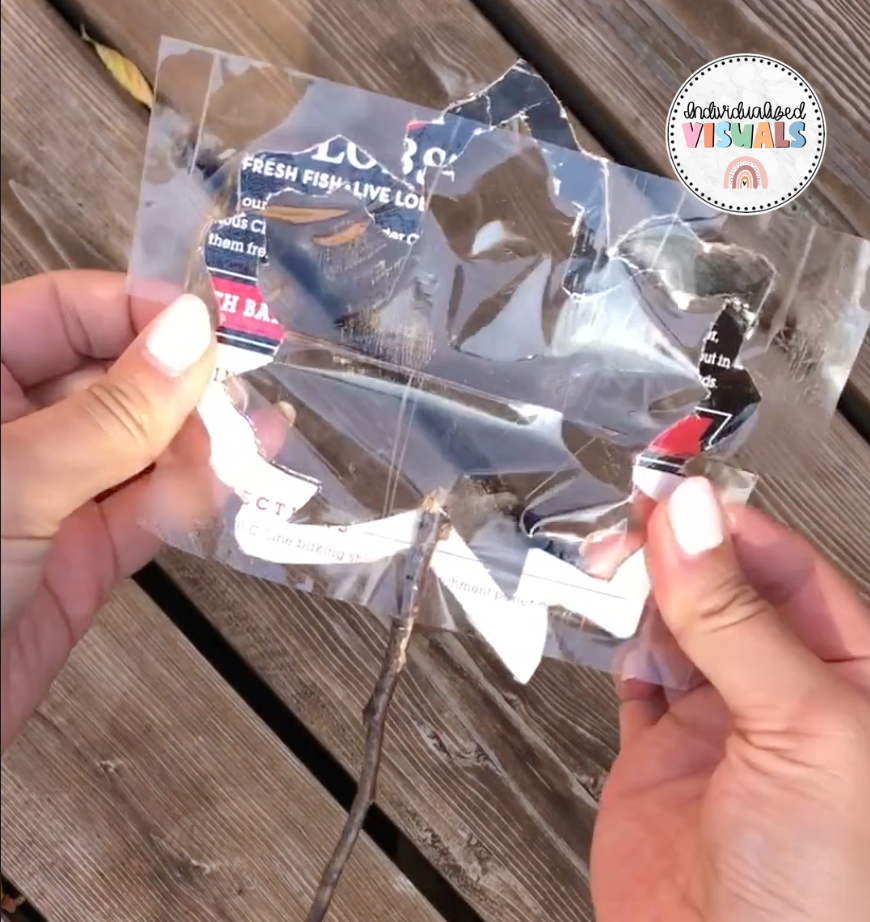
Search for a stick! Then add it on the back of the leaf. I just secured it with tape, but I’d suggest using a hot glue gun if you want this craft to last longer.
Make “Nature’s confetti”
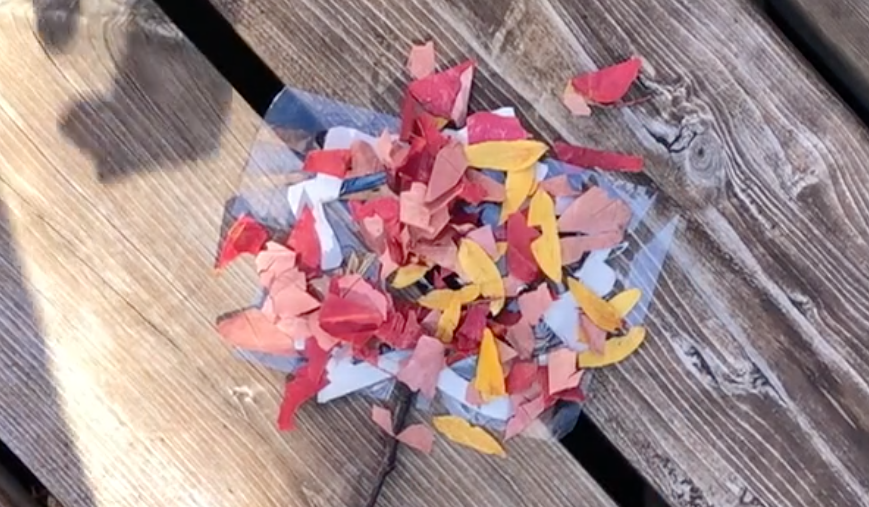
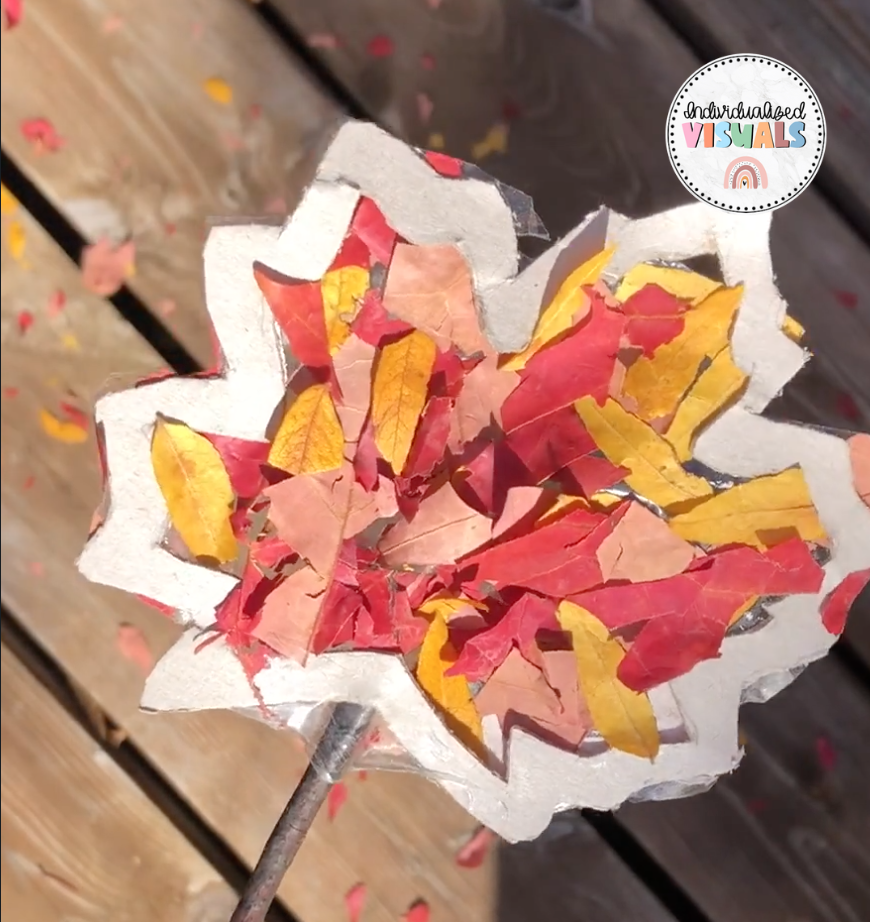
Hunt for leaves! I searched for a mixture of red, yellow and orange leaves, then I put the leaves in a ziploc bag. Then I crushed the leaves up in the ziploc bag. If you are having a hard time making the leaves small, you can also use the help of scissors! Once you have the leaves at a size you like, sprinkle them on the tape! Then flatten it with your hands so the leaves stick to the tape well.
Optional: Add clear tape to the front of the leaf as well so that the leaves don’t fall off easily.
Cut off the excess tape

Using scissors, cut off the excess tape. This is just for aesthetic purposes really, and prevents other random stuff sticking on it :P
Ta Da! You are done!
If you make this craft, I would LOVE to see pics!
You can tag me on Instagram @individualizedvisuals
Or email me a pic at kristi@individualizedvisuals.com